
Hello! Welcome to another post of mine! Here is how to build a beach house and I’ll teach you!
Lets Start! 🙂
Step 1: Find a spot for your beach house! I found this nice spot close to the water in 1.11!

Step 2: Choose your materials! For this beach house, I’m gonna use:
- Birch Wood Planks
- Birch Wood
- Glass Pane
- Birch Door
- Sea Lantern
- Birch Wood Stairs (Not Shown)
- Birch Wood Slabs (Not Shown)
- Birch Wood Fences (Not Shown)

Step 3: Layout your wood, try and keep it as some shape with sides…

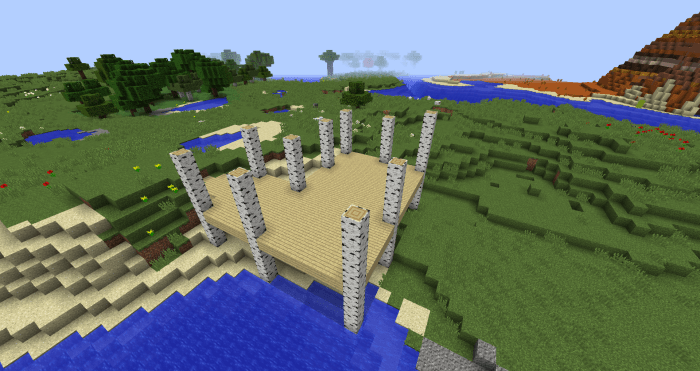
Step 4: Build up your wood until they are all the same height!

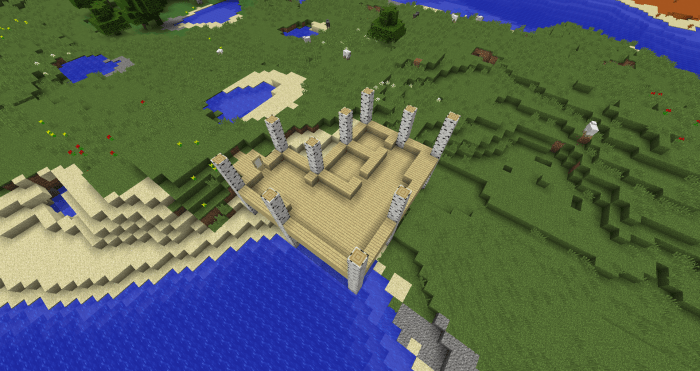
Step 5: Mark out your shape with your Planks or block of your choosing.

Step 6: Since this is on a hill, I made a drawbridge so you could get in, this step is optional however, but it looks nice.
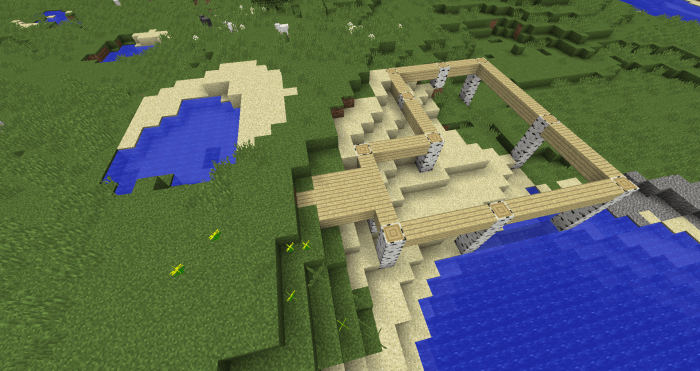
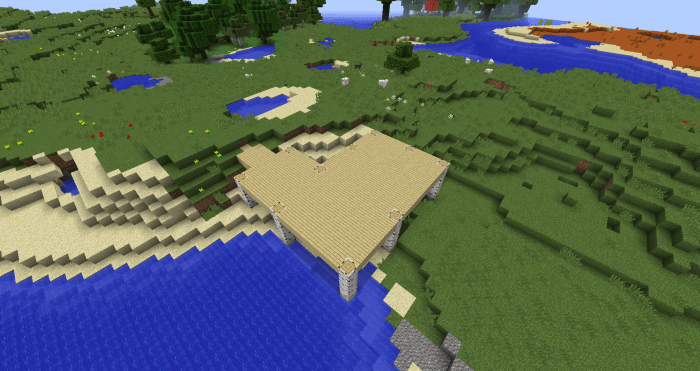
Step 7: Fill in your floor, this is what you’ll be standing on!
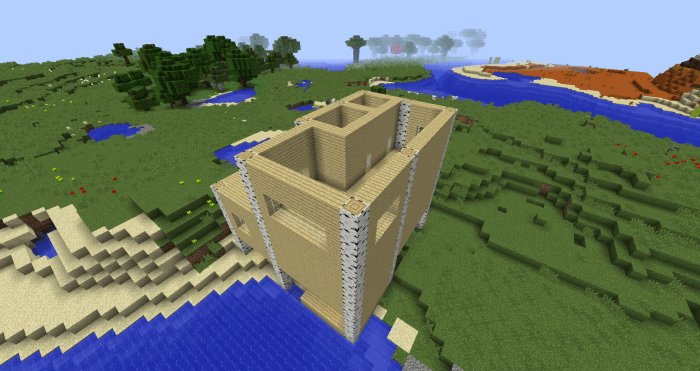
Step 8: Stack your wood as high as you need your room height, I did five high for my beach house!
Step 9: Room layout! Mark out your rooms and place your doors now. This house will have 2 Bedrooms at this level
Step 10: Dig a hole in your floor so you can get down to a lower deck, use your stairs but leave the fences for a later step.
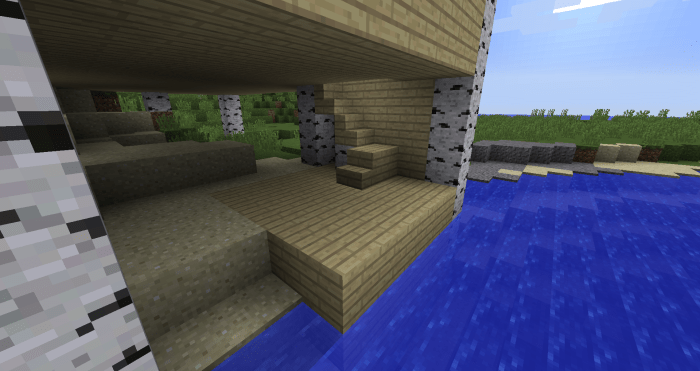
Step 11: See that extra wall? That will be our stairs, look below!

Step 12: Before we do our walls, mark out the windows.

Step 13: Add our second layer of wall, the first layer was added when you placed out the rooms.

Step 14: The third layer will go over our windows and doors.

Step 15: Before I moved up to the last layer, I realized that my windows weren’t high enough after building up the walls, so I made the windows higher.
Step 16: The fourth layer! almost there! once again, capping the windows.

Step 17: The last layer! Now you can’t fall off the stairs!

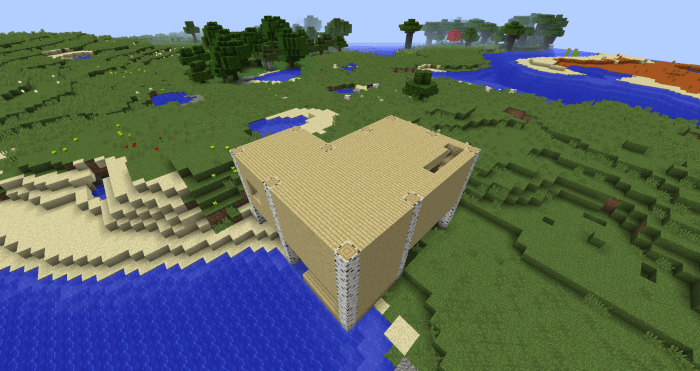
Step 18: The Ceiling! be sure to fill it all in! Except for the stairs! Make sure there is still some space after, watch this time-lapse that I did for the roof!

Below is the finished roof if your wondering, have you noticed the Mesa on the top right?
Step 19: Its gonna be dark because of our ceiling, be sure to add some lights like Torches, Glowstone, Sea Lanterns or End Rods!


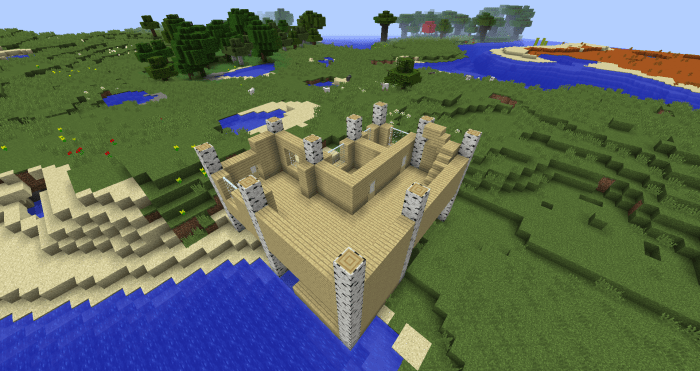
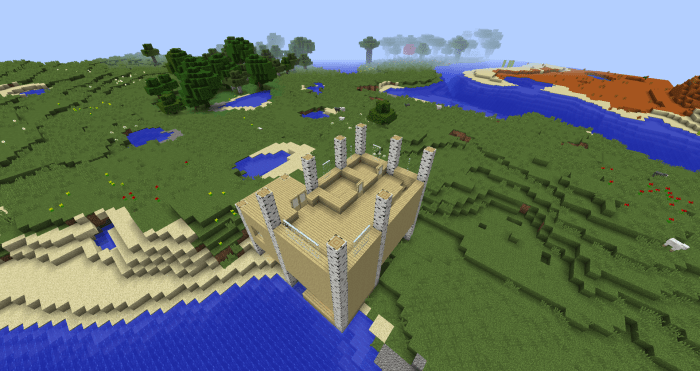
Step 20: Create more five block high holders, don’t add them in some places if you want some decks.

Step 21: Add the room layouts and first layer of the wall to the second floor. Don’t forget the doors!

Step 22: Add your windows to the second floor! To not make the same mistake as the floor, I made them two blocks high.
Step 23: Work on the second layer of the walls.

Step 24: Continue adding layers until you reach the top.


Step 25: Fill in the ceiling for the second level.

Step 26: Even more lighting! Nowhere shall be dark in the second level!

Step 27: This is an important step! The roof! Use your Stair blocks and your Wood Slabs to make the roof. Just leave the inside hollow.

Step 28!: Decorating time! First off decorate the top deck!

Now, decorate the room before the deck (the room that takes you to the deck), this is your storage room.

Don’t forget the extra space on the other side of that room! Paintings look good with it.

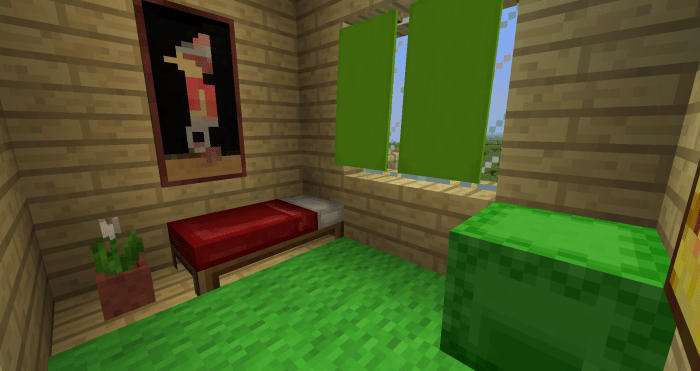
Here is one of the bedrooms, including Blinds (Banners), a Painting, a Bed, some Flowers and a Shulker Box!
Here is the furnace room! filled with some furnaces!

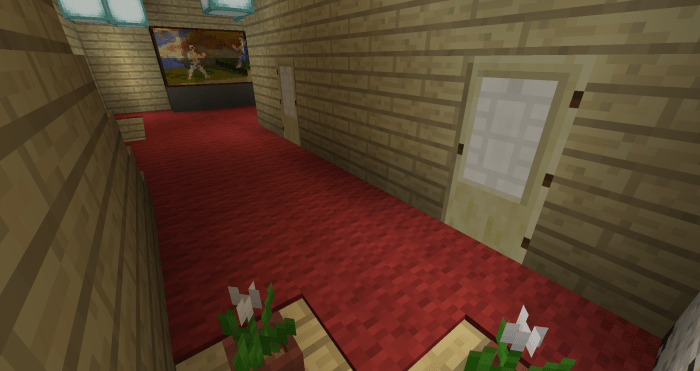
The stairway could use some pictures.

The bottom room has a TV! Use gray and black Stained Clay, and a painting to make a TV, if you have a 4×2 Monitor, consider using the Street fighter picture, if you are using a 4×3 Monitor, try the Donkey Kong picture. When you think about that TV, you realize your playing a Game on a 13.1 feet by 6.6 feet Monitor, awesome!
I guess I watched too much TV, looks like its night, well we still have two more rooms to finish, first of all, the inside patio holds some coats if it rains.

And finally the bottom deck! the anvil is supposed to be a barbecue, the barbecue sure can name your cue! Get it? No? Tough crowd…

Now that our house is done, lets try it with some shaders! Fun fact, if you put shaders on a world that is the same version, and go back to the normal version of that, it doesn’t damage your world! Cool huh?

I thought the top-right shader looked nice, also the bottom-left was cool too.


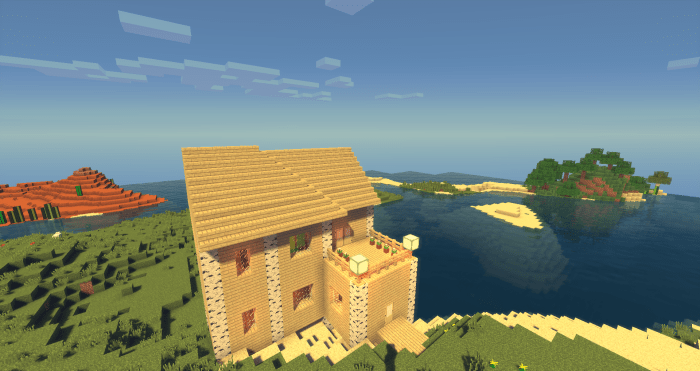
Shaders in the daytime! I love shaders!
Here I am! All dressed and on the deck! The lighting looks great with my new skin!

Below is a picture of the house after sunset using Sonic Ethers Unbelievable Shaders!

There is me again, on the deck at nighttime this time.

Hope you enjoyed this tutorial and I hope you like your finished Beach house! Be sure to subscribe to my YouTube and my Blog for more tutorials! Send me your beach houses with email and maybe I’ll star them in a future blog post of mine! Good bye!
